
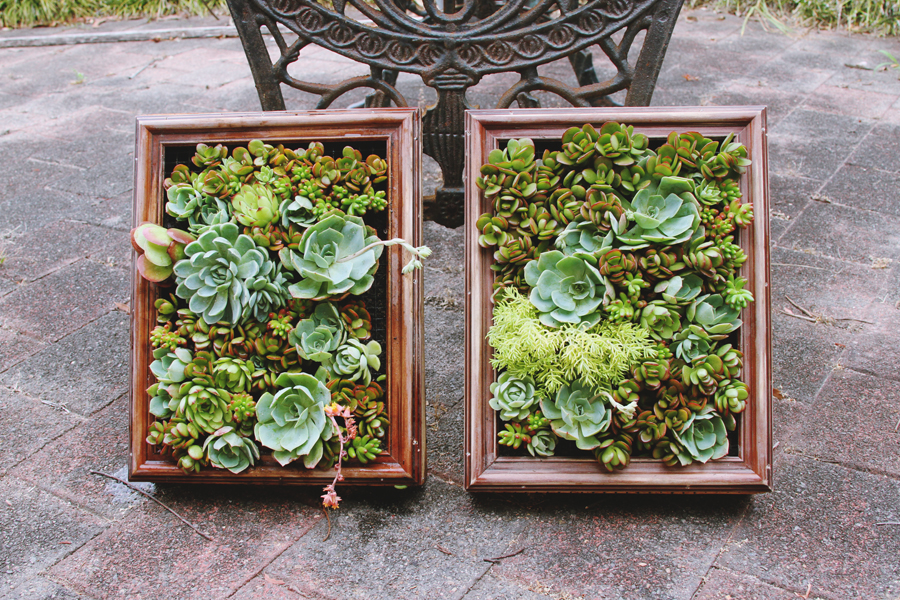

I’ve been wanting to make one of these for a while but didn’t have a good enough reason to – until Christmas that is! I made two as gifts, they were more work than I had anticipated but still really fun to make and worth it overall. Thanks to my Dadsie who did much of the hard labour with the frames <3
Materials:

- Succulents of choice
- Picture frames
- Weedmat
- Chicken wire or gutter mesh
- Shadow box (premade or your can make your own)
- Potting mix
- Tacks and nails
- Hooks and hanging wire
- Scissors
- Hammer
- Nail punch
- Thin tool like a pencil or end of a spoon etc.
- Water
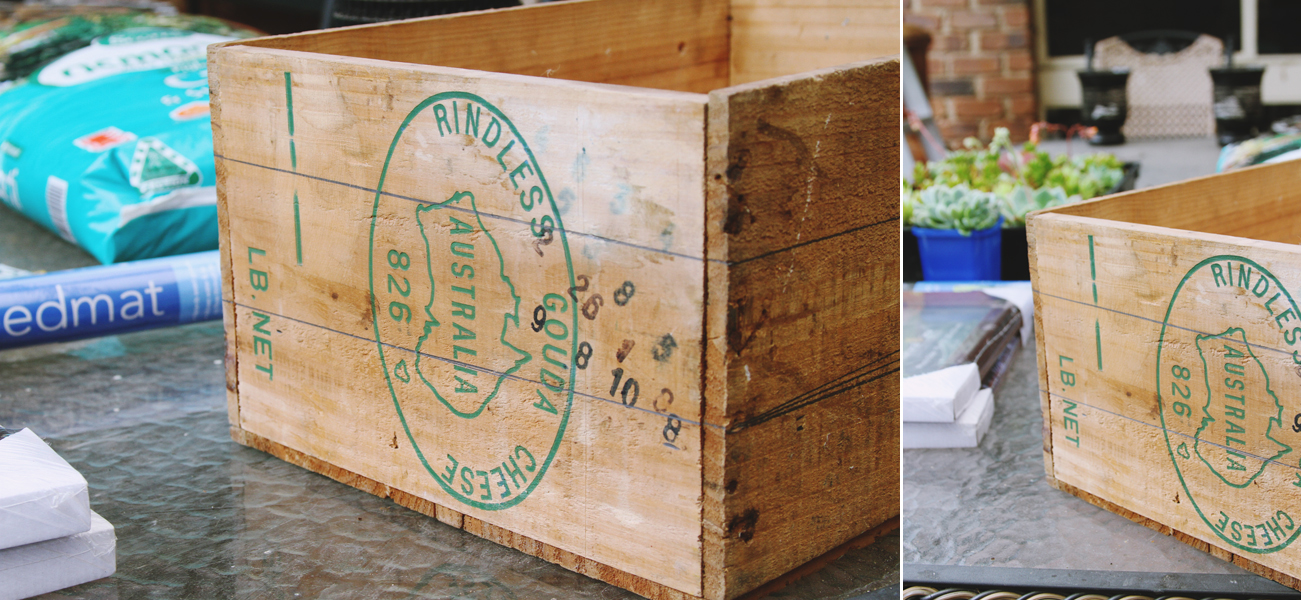
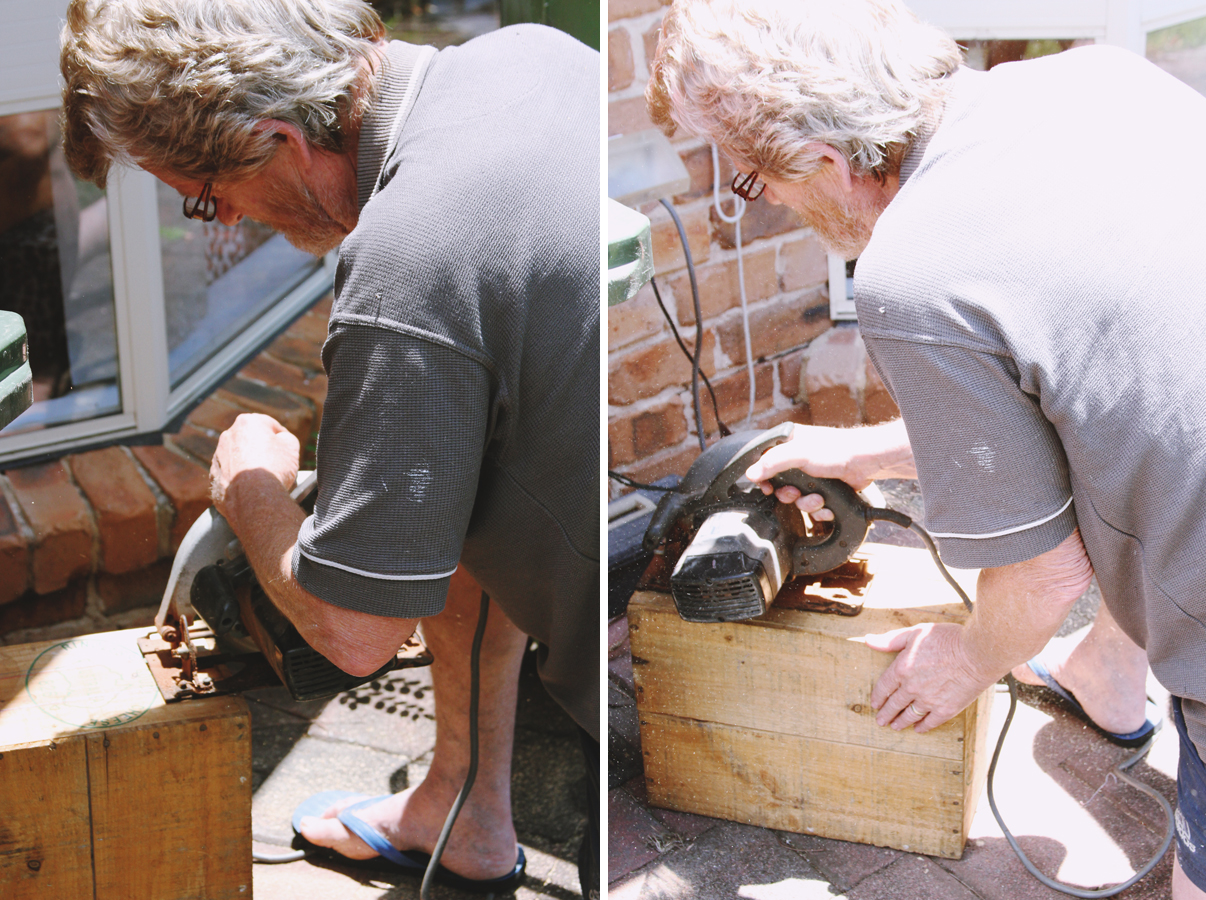
Many years ago my family acquired quite a number of these vintage cheese boxes. They have come in handy for so many things over the years! They’ve been used for many a DIY project and met even more storage needs. I’m pretty sure this one I claimed is the very last unallocated box (when I say unallocated I mean full of random junk in the shed that I felt better belonged scattered over Dad’s workbench). Dad measured them up and then helped me to cut them to size – I’m not allowed to play with power tools yet! He also fixed a new backing on the middle cut to make a second shadow box.
While Dad was doing that, I set to working on the frames. I really wanted to use repurposed/vintage frames but I just couldn’t find two of the right size and it was getting all too difficult so I had to go with these fairly plain frames I picked up from a junk store. I decided to sand them back to give them more of a distressed look – that was as good as I was going to get out of these and I’m happy ith the result overall.

Back to the shadow boxes – once they were all cut to size and sanded back on the top I used weedmat to line them – this helps to retain water and more importantly prevent leaking through to the wood that may cause rot over time.

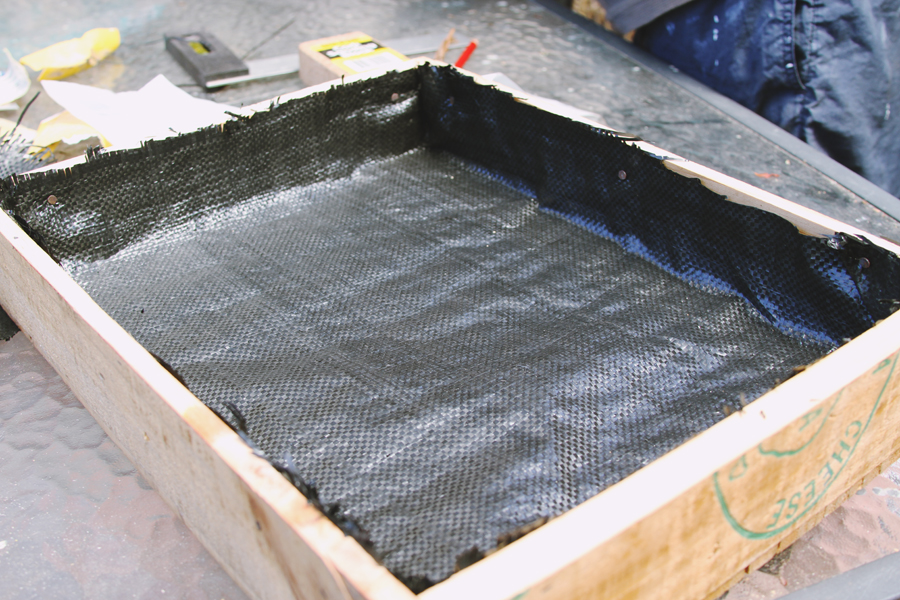
Chicken wire is the preferred choice for some with projects like this but at my Dad’s ingenious suggestion I decided to use gutter mesh instead – worked a charm! And won’t rust like wire might either.

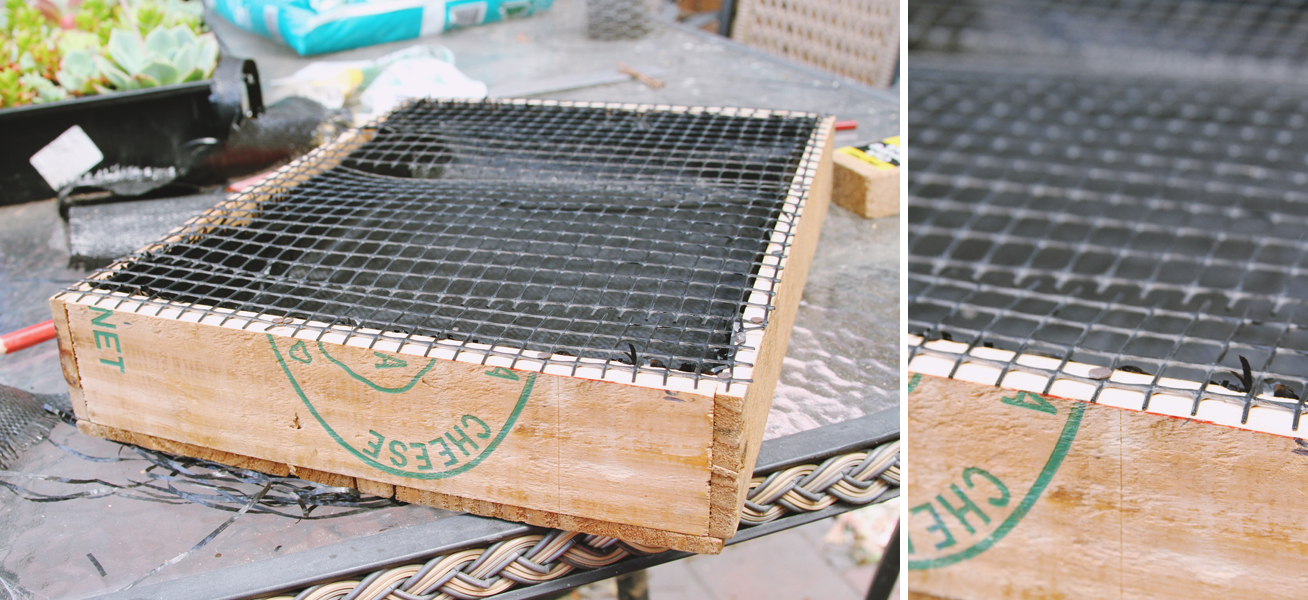
Once the mesh has been tacked onto the shadow box we went ahead and attached the frame to the top.

One last piece of hardware – hooks and wire in the back of the frame so they can be hung when they’re done!

Next I laid the box on a flat surface and filled with soil, shaking to even out and then added water evenly over the top to let the soil settle. I filled the frame to about 80% capacity – needed to leave myself some wiggle room for when I was putting the plants in place. Oh and almost forgot! Activated carbon is the magic ingredient to any mini garden.

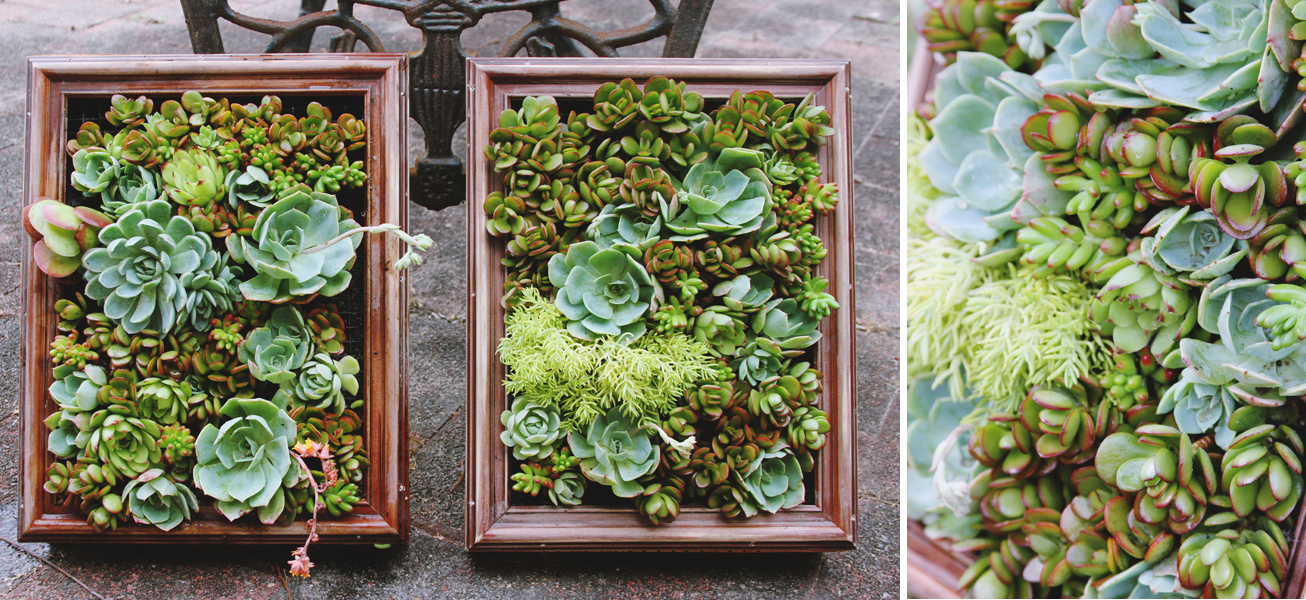
And then I started filling! I snipped holes into the mesh/wire to fit root systems and stems with ease and made sure to fix plants in a downward angle so that when they stand upright they don’t fall out. This is where the pencil came in handy to push things into place through the mesh.

And voila! It look probably about an hour for each one to put the plants in. My fingers were most tired by the end.


If you do have a go at making one of these, at least for the first couple of days leave your planter sitting on a flat surface to let the roots and soil settle. Leaving it up to a couple of weeks would be the most ideal. Hang in a shaded but well-lit spot and lightly water with a spray bottle about once a week – more in warm weather.
Enjoy :)

Wow impressive! Thanks for sharing.
Thanks so much :)
Loved the detailed commentary Jen. Now I know what was going on outside the window all afternoon! I wish I was on the receiving end of one (or both) of those. Fantastic gift.
This is a topic which is close to my heart… Cheers!
Exactly where are your contact details though?